Using Twitter Authentication For Login in Laravel 5
Previously, we dealt with Facebook Authentication.
Let’s see how we can utilize the Socialite package for Twitter Authentication:
1. Do a clean install of Laravel 5
2. Install Socialite
|
1 |
composer require laravel/socialite |
3. Head over to your config/app.php and add the following in the providers array:
|
1 |
Laravel\Socialite\SocialiteServiceProvider::class |
4. Still in your config/app.php file, also add this to the aliases array:
|
1 |
'Socialite' => Laravel\Socialite\Facades\Socialite::class |
We just registered a Facade for Laravel Socialite.
5. Create Twitter app.
Head over to https://apps.twitter.com/ . Click on create new app.
I named mine “Laravel Auth”.
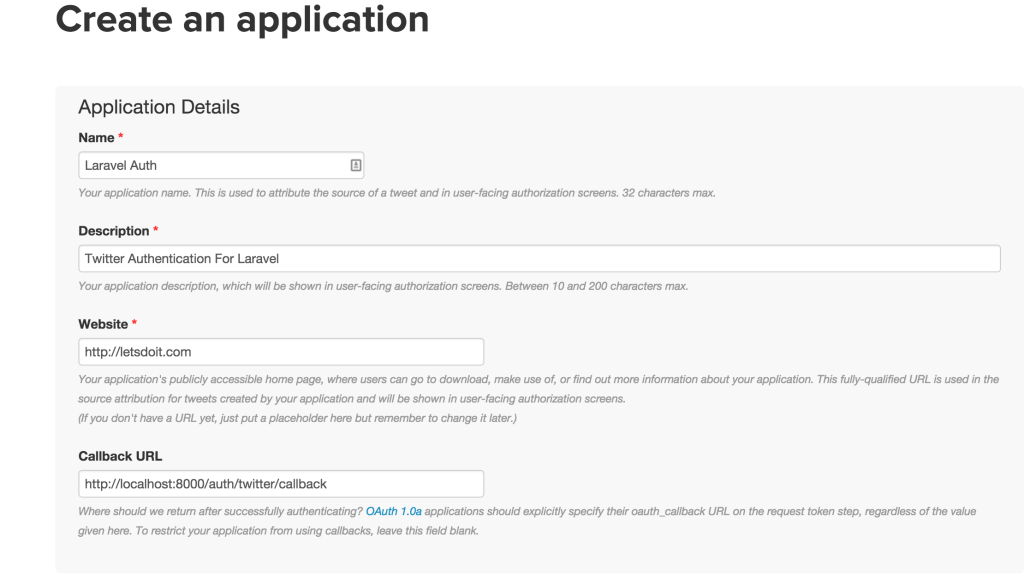
Now, Let’s edit something. Twitter won’t allow us to use localhost so we have to fake it, let’s add this http://twitter-auth.app:8000/auth/twitter/callback as the callback URL.
…For you to be able to use this URL on your machine, you’ll have to run your Laravel app using Vagrant and homestead. You can get how to install them here on Mac and here on Windows.
The Website URL can be any placeholder url..if you don’t have a real URL.
6. Add Twitter Config
Head over to your config/services.php and add this:
|
1 2 3 4 5 |
'twitter' => [ 'client_id' => env('TWITTER_CLIENT_ID'), 'client_secret' => env('TWITTER_CLIENT_SECRET'), 'redirect' => env('CALLBACK_URL'), ], |
Open your .env file and add your twitter client id, secret and callback URL like so:
|
1 2 3 |
TWITTER_CLIENT_ID=xxxxxxxxx TWITTER_CLIENT_SECRET=xxxxxxx CALLBACK_URL=http://twitter-auth.app:8000/auth/twitter/callback |
where xxxxxxx refers to your Consumer Key and Consumer secret.
7. Set up Routes and Controller Methods
You will need two routes: one for redirecting the user to the OAuth provider, and another for receiving the callback from the provider after authentication.
Add these to routes.php
|
1 2 |
Route::get('auth/twitter', 'Auth\AuthController@redirectToProvider'); Route::get('auth/twitter/callback', 'Auth\AuthController@handleProviderCallback'); |
Add the following fields to the fillable array in the User model to make this fields mass assignable.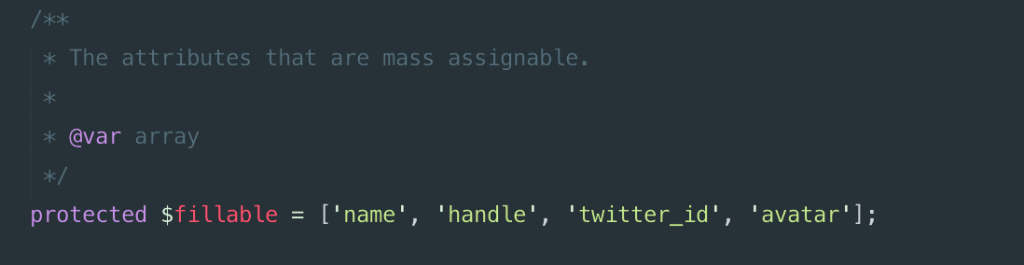
Let’s Open up our AuthController.php file in Auth folder and add this:
|
1 2 3 4 5 6 7 8 9 10 11 12 13 14 15 16 17 18 19 20 21 22 23 24 25 26 27 28 29 30 31 32 33 34 35 36 37 38 39 40 41 42 43 44 45 46 47 48 49 50 51 52 53 |
protected $redirectPath = '/home'; /** * Redirect the user to the Twitter authentication page. * * @return Response */ public function redirectToProvider() { return Socialite::driver('twitter')->redirect(); } /** * Obtain the user information from Twitter. * * @return Response */ public function handleProviderCallback() { try { $user = Socialite::driver('twitter')->user(); } catch (Exception $e) { return redirect('auth/twitter'); } $authUser = $this->findOrCreateUser($user); Auth::login($authUser, true); return redirect()->route('home'); } /** * Return user if exists; create and return if doesn't * * @param $twitterUser * @return User */ private function findOrCreateUser($twitterUser) { $authUser = User::where('twitter_id', $twitterUser->id)->first(); if ($authUser){ return $authUser; } return User::create([ 'name' => $twitterUser->name, 'handle' => $twitterUser->nickname, 'twitter_id' => $twitterUser->id, 'avatar' => $twitterUser->avatar_original ]); } |
Note: Add the Socialite and Auth class reference at the top of this file like so:
|
1 2 |
use Auth; use Socialite; |

First, it redirects to Twitter, grabs the relevant information and then looks up the user and authenticate as that user. If the user doesn’t exist, it creates the user and authenticate.
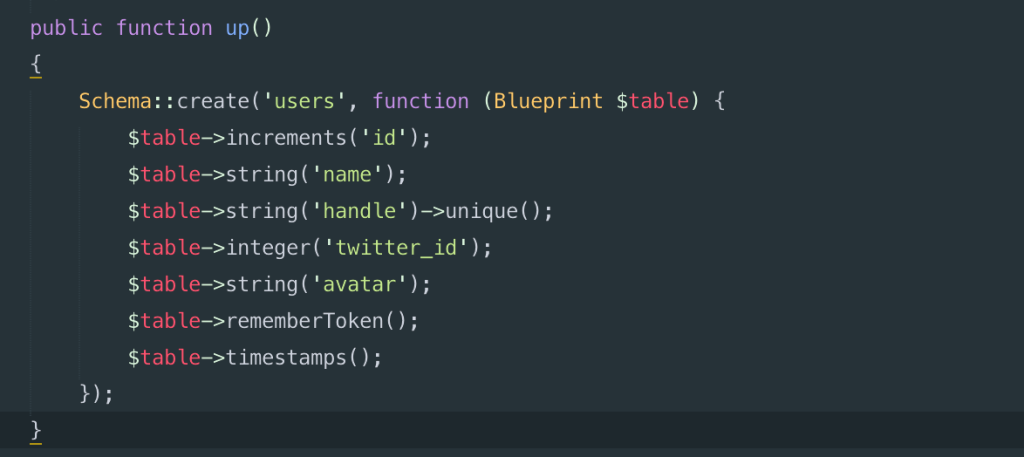
8. Database
We need to update our users migration so that it will allow us to store twitter-specific information. Since this is a new app, I could just modify the users migration, but if you have an existing app, you’ll need to make a new migration.
Twitter API doesn’t return emails. If you need to really get the email of a user, you need to add your app to the set of whitelisted apps. Follow this link for more information on that. So let’s get a unique value which is the handle of the person.
Now let’s get to work.
Head over to your welcome.php and edit it to have a login twitter button like so:
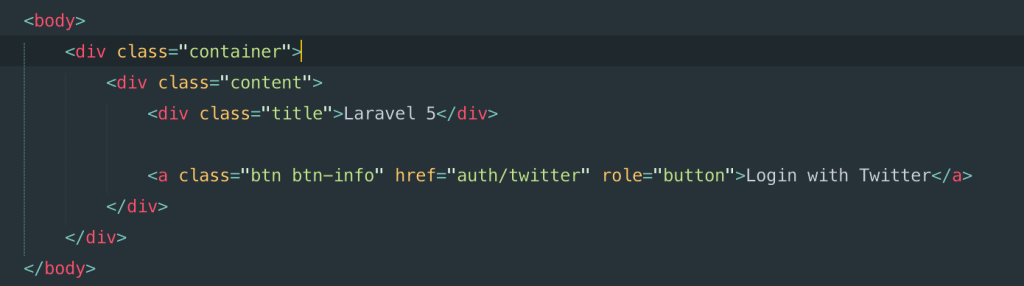
Don’t forget to link the file with bootstrap.
In your routes.php, add this:
|
1 2 3 |
Route::get('home', array('as' => 'home', 'uses' => function(){ return view('home'); })); |
Create home.blade.php
Copy the contents of welcome.blade.php into it and just update the body content to have this:
Now, run your migrations lest we forget like so:
|
1 |
php artisan migrate |
Are you ready to test your app?..after all the work!
Now, run php artisan serve and click on the Login with Twitter button on your homepage
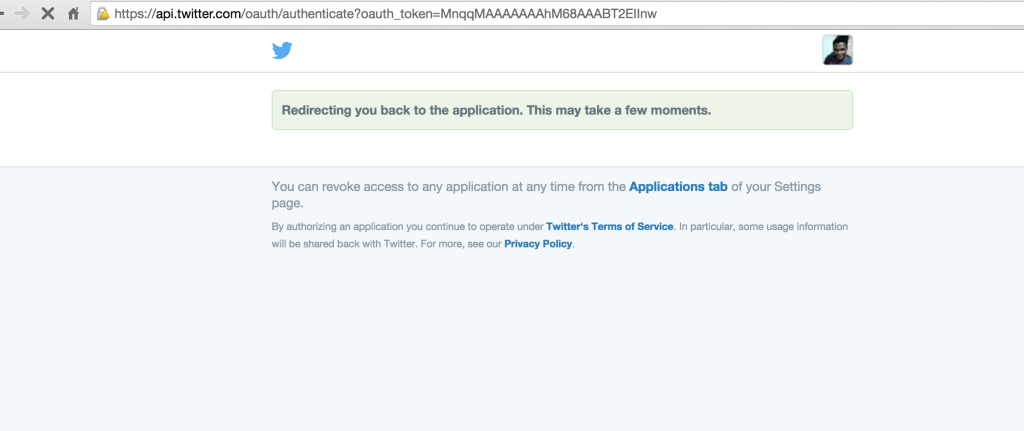
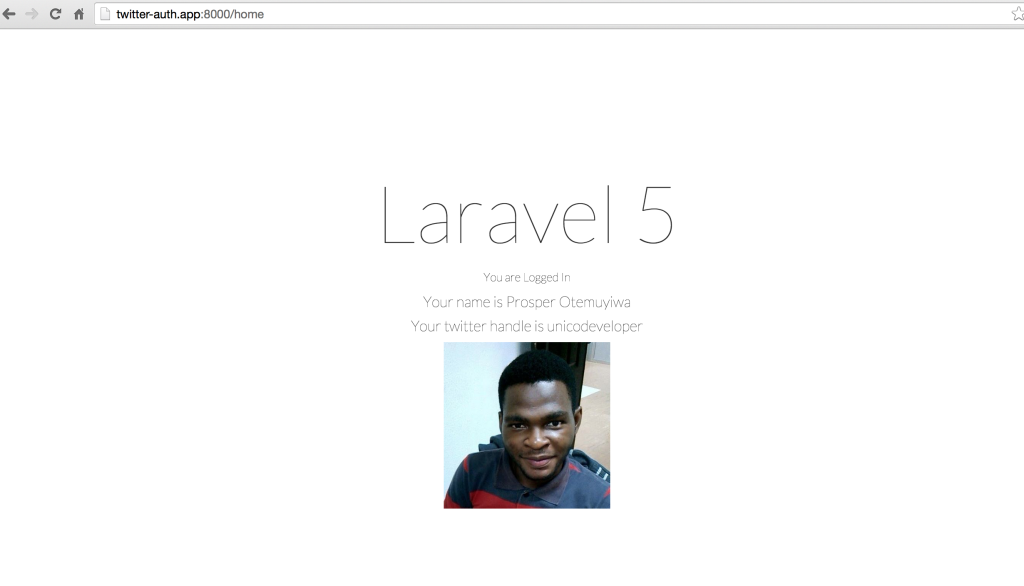
Yaaay!!!..Now we are logged in from twitter..and we can access our data from Twitter.
You can check how to use Facebook authentication for Login in Laravel 5 here
You can decide to use the data for anything,…this tutorial aims to simply show you how to authenticate with twitter.
You can find the full source code of this tutorial here
Please, if you have any questions or observations, let me know in the comments section!
- How to build your own Youtube – Part 10 - August 1, 2016
- How to build your own Youtube – Part 9 - July 25, 2016
- How to build your own Youtube – Part 8 - July 23, 2016
- How to build your own Youtube – Part 6 - July 6, 2016
- Introducing Laravel Password v1.0 - July 3, 2016
- How to build your own Youtube – Part 5 - June 28, 2016
- How to build your own Youtube – Part 4 - June 23, 2016
- How to build your own Youtube – Part 3 - June 15, 2016
- How to build your own Youtube – Part 2 - June 8, 2016
- How to build your own Youtube – Part 1 - June 1, 2016