How to build your own Youtube – Part 8
Introduction: If you missed the earlier parts, in this series we are covering how to build your own YouTube clone, Click here.
Note: You need to have at least some prior experience with client-side Javascript frameworks and Node.js to get the most out of this tutorial.
In the previous post, we looked at Transcoding videos, Quality Control, Bit rate control, Video codec settings, Generating Video thumbnails, Adding image overlays, Adding Video Overlays, Adding text captions and Adding subtitles.
In this post, we’ll look at Audio Frequency Control, Video Effects such as Adding Visual Noise, Removing small motion shifts, Fading in and out, Calibrating contrast, Controlling brightness, Balancing Saturation, Regulating Gamma, Applying Vignette, Adjusting Volume.
Audio Frequency Control
Audio Frequency refers to the range of signals that are audible to the human ear. It is the property of sound that determines pitch. The generally accepted standard range of audible frequencies is 20 to 20,000 Hz, although the range of frequencies individuals hear is greatly influenced by environmental factors.
With Cloudinary, you can easily control the audio frequency of a video. Use the audio_frequency parameter (af in URLs) to control the audio sampling frequency. This parameter represents an integer value in Hz. The possible values for audio frequency are 8000, 11025, 16000, 22050, 32000, 37800, 44056, 44100, 47250, 48000, 88200, 96000, 176400 or 192000.
For example, setting the audio frequency to 22050 Hz in an uploaded mp4 video named dog will look like so:
|
1 |
http://res.cloudinary.com/demo/video/upload/af_22050/dog.mp4 |
where af stands for audio frequency, 22050 represents the value and “dog” is the public_id of the video.
Using Cloudinary Node.js library, you can tweak audio frequency like so:
|
1 |
cloudinary.video("dog.mp4", {audio_frequency: "22050"}) |
Are you surprised that it’s that easy? Well, Cloudinary has already done the hard work, all you need to do as a developer is consume their API and you are good to go!
Video Effects
Video effects can be applied to an uploaded video file and allow you to manipulate the delivered video file as follows:
- Change the video playback speed using accelerate.
- Add visual noise.
- Remove small motion shifts with deshake.
- Fade in to or fade out of a video.
- Calibrate the Contrast.
- Control the Brightness.
- Balance the Saturation.
- Regulate the Gamma.
- Apply a Vignette effect.
- Adjust the Volume.
Let’s Get Started With How Video Effects Work
Change Video playback speed
Let me give you a perfect scenario. As developers, continuous learning is food for us. Most times you have to go through articles, blog posts and videos to learn various technologies. Platforms like egghead.io and laracasts.com provide quality content via videos. Now, there is so much to learn but little time, so they provide the options of speeding up the video either double the normal speed or one-and-a-half-times the normal speed.
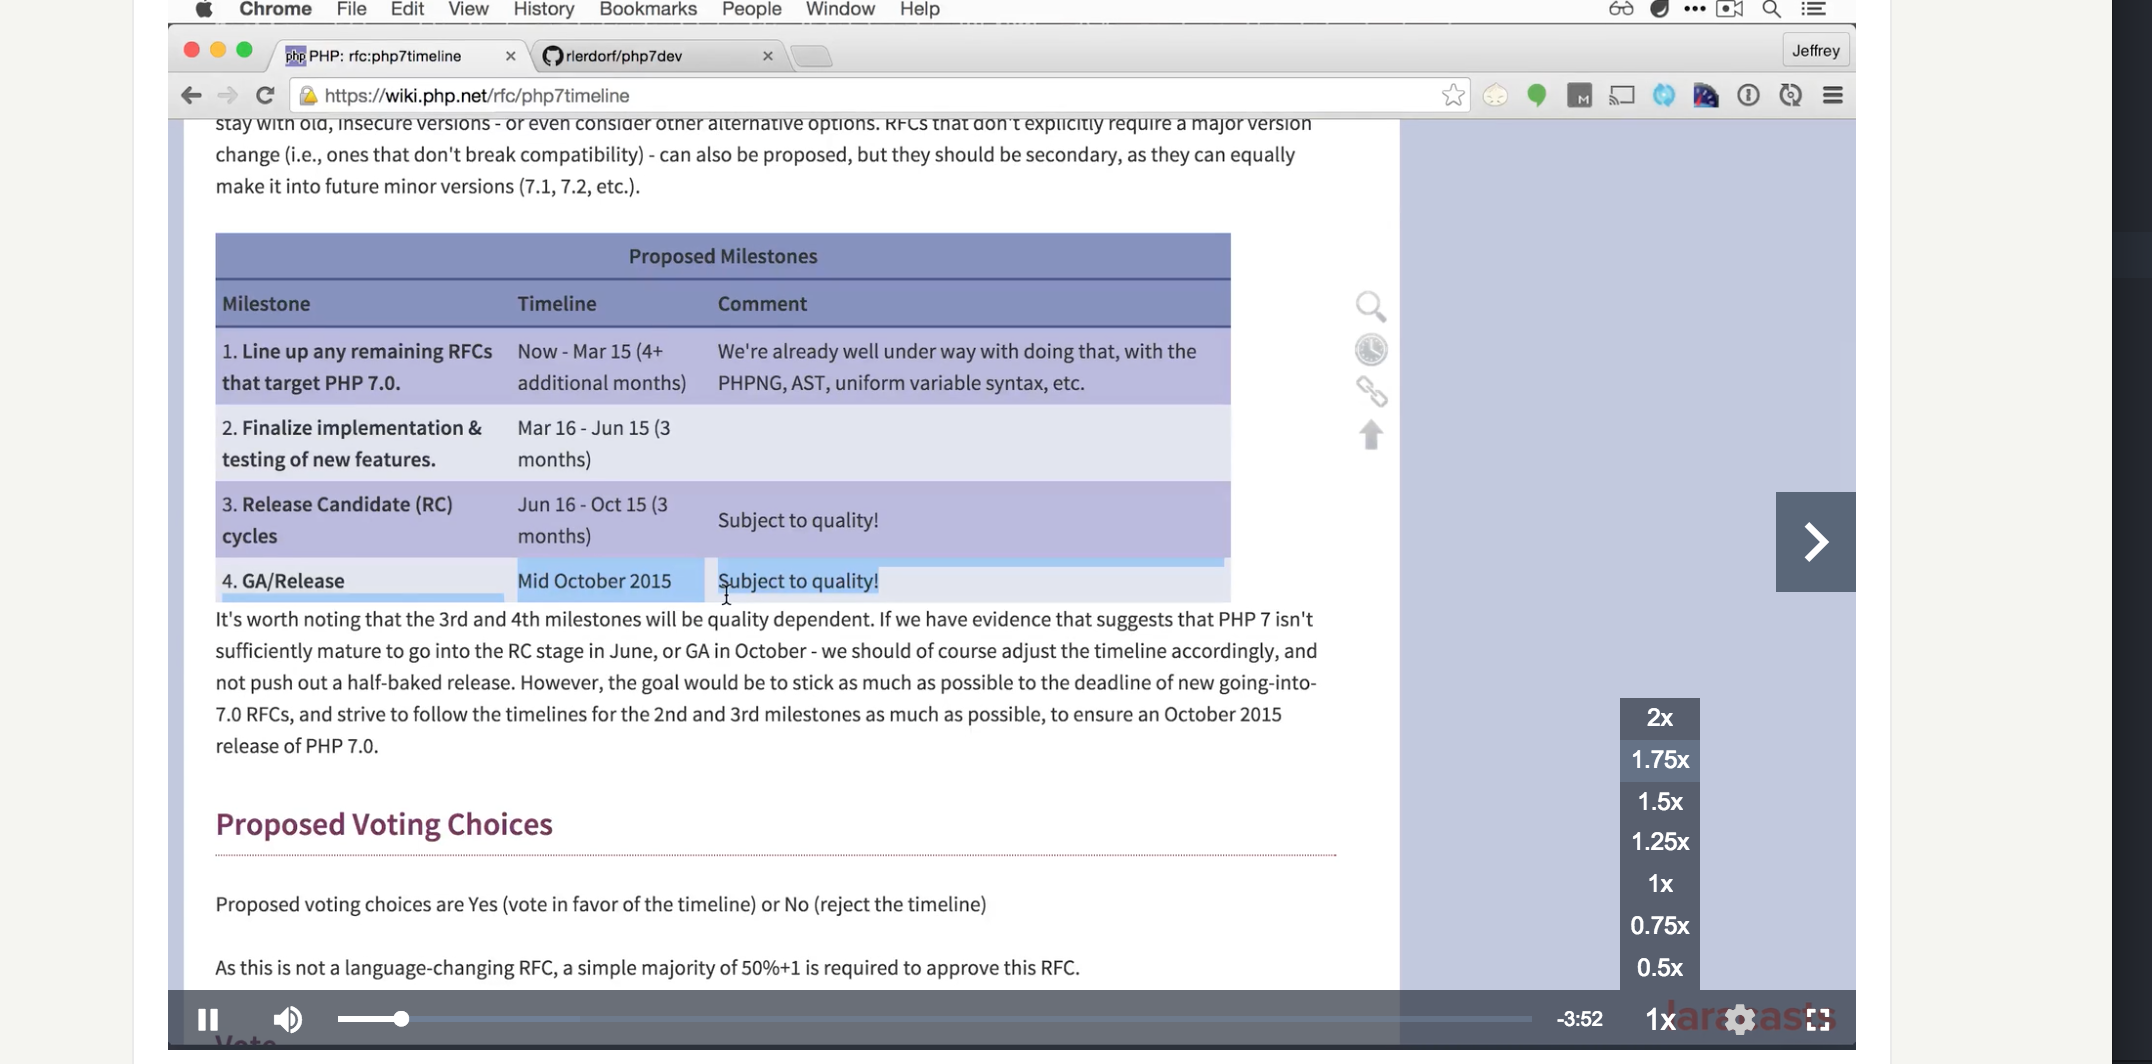
In the diagram above, you can see 0.5x, 0.75x, 1x, 1.25x and the rest. Cloudinary handles like a playback like a boss!
Use the accelerate video effect (e_accelerate in URLs) to either speed up or slow down the video playback speed. The effect accepts an integer value between -50 and 100 that determines how to change the playback speed (in percent), with a positive value for speeding up the video, and a negative value for slowing down the video.
For example, an uploaded mp4 video named dog resized to a width of 300 pixels and accelerated by 100% (twice normal speed) can be achieved by doing this:
|
1 |
http://res.cloudinary.com/demo/video/upload/w_300,e_accelerate:100/dog.mp4 |
Using Cloudinary Node.js library, you can achieve the same effect like so:
|
1 |
cloudinary.video("dog.mp4", {width: 300, effect: "accelerate:100"}) |
Add Visual Noise
Adding noise to a video is not a new thing. If you have watched movies/films from over a decade ago, you will remember it always had some form of noise added to it.
Sometimes, your video images may be complicated, and when it is exposed to an area of a single gradually changing color, you will notice a problem. You can add some noise as a counter-intuitive technique to break down the visible boundaries between areas of color. It can make the color banding go away instantly. Adding noise to the video can make those color issues go away. How do we go about that? Cloudinary also handles that simply and effectively. I’ll show you how it works in the next paragraph.
Use the noise video effect (e_noise in URLs) to add visual noise to a video. Noise is a random pattern superimposed on the video, visible as a random flicker of “dots” or “snow”. The amount of noise added to the video is set by adding an integer value to the parameter, ranging from 0 (no noise) up to 100.
For example, applying the noise effect with a value of 50 to the mp4 video named dog, resized to a width of 300 pixels will look like so:
|
1 |
http://res.cloudinary.com/demo/video/upload/w_300,e_noise:50/dog.mp4 |
where e_noise is the parameter for the visual noise and “dog” is the public_id of the video.
Using Cloudinary Node.js library, you can achieve the same effect like so:
|
1 |
cloudinary.video("dog.mp4", {width: 300, effect: "noise:50"}) |
Remove Small Motion Shifts
Motion tracking and stabilization is a common thing in the video/movie industry. And it can really be a pain trying to combine elements filmed separately. Some examples of combining film elements are as follows:
- Adding the video of someone on a power bike to an existing footage of a moving armor tank.
- Stabilizing footage of birds landing on hibiscus flowers in a garden.
Cloudinary provides an effect called the deshake video effect that takes care of these form of issues.
The deshake video effect (e_deshake in URLs) applies a filter that attempts to fix small changes in horizontal and vertical motion shift. This filter helps remove camera shake from hand-holding a camera, bumping a tripod, moving on a vehicle, etc. A value between 0-64 can also be specified that determines the maximum extent of movement in the horizontal and/or vertical direction in pixels, with the default set to 16 pixels.
For example, applying the deshake effect with a maximum motion shift of 32 pixels to the mp4 video named dog will look like so:
|
1 |
http://res.cloudinary.com/demo/video/upload/e_deshake:32/dog.mp4 |
where e_deshake is the parameter for removing video shakes(small motion shifts) and “dog” is the public_id of the video.
Using Cloudinary Node.js library, you can achieve the same effect like so:
|
1 |
cloudinary.video("dog.mp4", {effect: "deshake:32"}) |
Fade In and Out
This is used frequently in movies especially when transitioning from one scene to another. The old scene is faded out and the new scene is faded in. So, you can use Cloudinary to achieve this simple, nice and awesome effect.
Use the fade video effect (e_fade in URLs) to either fade in at the beginning of a video or fade out at the end. The effect accepts a parameter that determines the duration of the fade effect in milliseconds, with a positive value for fading in at the beginning of the video, and a negative value for fading out at the end of the video. The fade effect can also be chained to allow for both fading in and then fading out of a video.
For example, applying the fade effect to the mp4 video named dog, first by fading in at the beginning of the video over 2 seconds and then fading out at the end of the video over 4 seconds will look like so:
|
1 |
http://res.cloudinary.com/demo/video/upload/e_fade:2000/e_fade:-4000/dog.mp4 |
where e_fade is the parameter for the fade video effects and “dog” is the public_id of the video.
Using Cloudinary Node.js library, you can achieve the same effect like so:
|
1 2 3 4 |
cloudinary.video("dog.mp4", {transformation: [ {effect: "fade:2000"}, {effect: "fade:-4000"} ]}) |
The fade effect is also useful for fading in and out of video overlays. For example, adding an overlay of kitten_fighting scaled to a width of 100 pixels to the mp4 video named dog, that fades in over 3 seconds will look like so:
|
1 |
http://res.cloudinary.com/demo/video/upload/l_video:kitten_fighting,e_fade:3000,w_100/dog.mp4 |
Using Cloudinary Node.js library, you can achieve the same effect like so:
|
1 |
cloudinary.video("dog.mp4", {overlay: "video:kitten_fighting", effect: "fade:3000", width: 100}) |
Calibrate Contrast
On Instagram, you can easily apply filters like this to your videos. I’m sure you have probably done it before.  . Increasing and decreasing the contrast on a video. Cloudinary has an API that can handle calibration of contrast on videos.
Use the contrast video effect (e_contrast in URLs) to either increase or decrease the contrast level in a video. Contrast is determined by the difference in brightness and color that makes objects within the video distinguishable from other objects within the same video. The contrast level can be decreased down to -300 or increased up to +100, with a default level of 0.
For example, applying the contrast effect to the mp4 video named dog with a width of 500, by increasing the contrast level by 50 will look like so:
|
1 |
http://res.cloudinary.com/demo/video/upload/w_500,e_contrast:50/dog.mp4 |
Using Cloudinary Node.js library, you can achieve the same effect like so:
|
1 |
cloudinary.video("dog.mp4", {width: 500, effect: "contrast:50"}) |
Control Brightness
Like Applying contrast on a video, you can also control brightness like decreasing or increasing brightness on a video that was shot poorly. If the lighting system was bad on some sections of the video, with the help of Cloudinary, you can actually increase the brightness of the video.
Use the brightness video effect (e_brightness in URLs) to either increase or decrease the brightness level in a video. Brightness determines how much the objects in a video appear to be radiating light. The brightness level can be decreased down to -100 or increased up to +100, with a default level of 0.
For example, applying the brightness effect to the mp4 video named dog with a width of 500, by increasing the brightness level by 30 will look like so:
|
1 |
http://res.cloudinary.com/demo/video/upload/w_500,e_brightness:30/dog.mp4 |
Using Cloudinary Node.js library, you can achieve the same effect like so:
|
1 |
cloudinary.video("dog.mp4", {width: 500, effect: "brightness:30"}) |
Balance Saturation
Sometimes, you might find yourself in a situation where you need to add more color to the items in a video. You want the colors of the items of the video to match up with the level of brightness the video possesses. Cloudinary can handle this scenario perfectly for you with the help of saturation video effect.
Use the saturation video effect (e_saturation in URLs) to either increase or decrease the saturation level in a video. Saturation determines the colorfulness of objects relative to their brightness. The saturation level can be decreased down to -200 or increased up to +100, with a default level of 0.
For example, applying the saturation effect to the mp4 video named dog with a width of 500, by decreasing the saturation level by -50 will look like so:
|
1 |
http://res.cloudinary.com/demo/video/upload/w_500,e_saturation:-50/dog.mp4 |
Using Cloudinary Node.js library, you can achieve the same effect like so:
|
1 |
cloudinary.video("dog.mp4", {width: 500, effect: "saturation:-50"}) |
Regulate Gamma
Gamma encoding attempts to capture as many different perceptible colors, while lumping together colors we can’t tell apart. This is done to reduce the number of colors that the computer needs to store internally, while maximizing how many different colors can be shown. Think of it like a form of compression. So, an artist creates an image as an art asset for a game. He uses particular colors to make this happen. The computer encodes these colors into a file with a particular gamma. When you boot the game up, your monitor or TV interprets these colors and creates an image out of them. This process of converting the digital signal back to something your eyes can see is the gamma decoding step. The darker the color, the more the gamma encoding tends to separate the colors in the encoded color space.
Use the gamma video effect (e_gamma in URLs) to either increase or decrease the gamma level in a video. Gamma determines the relative luminance of objects within the video. The gamma level can be decreased down to a -100 or increased up to +100, with a default level of 0.
For example, applying the gamma effect to the mp4 video named dog with a width of 500, by decreasing the gamma level to -20 will look like so:
|
1 |
http://res.cloudinary.com/demo/video/upload/w_500,e_gamma:-20/dog.mp4 |
Using Cloudinary Node.js library, you can achieve the same effect like so:
|
1 |
cloudinary.video("dog.mp4", {width: 500, effect: "gamma:-20"}) |
Apply Vignette
In movies, there are scenarios where they want to display a flashback from the past. Sometimes, someone’s thought or maybe just focusing/zooming on a particular person or object. They make the video clear in the center and fade it out towards the edges. Cloudinary makes that simple to achieve too!
Use the vignette video effect (e_vignette in URLs) to apply a vignette filter to a video. The vignette filter creates an effect where the video is clear in the center and fades out towards the edges. The vignette effect parameter accepts a value between 0 and 100 to determine how quickly the video fades out from a clear center.
For example, applying the vignette effect with a level of 50 to the mp4 video named dog will look like so:
|
1 |
http://res.cloudinary.com/demo/video/upload/w_500,e_vignette:50/dog.mp4 |
Using Cloudinary Node.js library, you can achieve the same effect like so:
|
1 |
cloudinary.video("dog.mp4", {width: 500, effect: "vignette:50"}) |
Adjust Volume
A perfect scenario is someone filming a video with low audio. Now, when viewers watch the video, they can hardly hear anything because of the low volume that accompanied the video. Cloudinary can help increase or even decrease the volume based on any option you choose.
Control the audio volume of a video with the volume effect parameter (e_volume in URLs). This parameter represents a percentage of the original volume and can take a value between -100 (no audio) to +400, with a default of 0.
For example, increasing the volume in the mp4 video named dog by 50% with a width of 500 will look like so:
|
1 |
http://res.cloudinary.com/demo/video/upload/w_500,e_volume:50/dog.mp4 |
Using Cloudinary Node.js library, you can achieve the same effect like so:
|
1 |
cloudinary.video("dog.mp4", {width: 500, effect: "volume:50"}) |
Conclusion
In this post, we have looked at Audio Frequency Control, Video Effects such as Adding Visual Noise, Removing small motion shifts, Fading in and out, Calibrating contrast, Controlling brightness, Balancing Saturation, Regulating Gamma, Applying Vignette, Adjusting Volume.
In the next post, we’ll look at Dynamic Adaptive Streaming over HTTP-MPEG-DASH, Creating the mpd and streaming files with the various transformations, Creating an mpd master playlist file, Creating animated GIFs and webP files, and Delivering animated GIFs and webP files.
The source code for this project is on GitHub.
If you have any questions or observations, please drop your thoughts in the comment section below
- How to build your own Youtube – Part 10 - August 1, 2016
- How to build your own Youtube – Part 9 - July 25, 2016
- How to build your own Youtube – Part 8 - July 23, 2016
- How to build your own Youtube – Part 6 - July 6, 2016
- Introducing Laravel Password v1.0 - July 3, 2016
- How to build your own Youtube – Part 5 - June 28, 2016
- How to build your own Youtube – Part 4 - June 23, 2016
- How to build your own Youtube – Part 3 - June 15, 2016
- How to build your own Youtube – Part 2 - June 8, 2016
- How to build your own Youtube – Part 1 - June 1, 2016