Build A Contact Management web Application with AdonisJS Framework – Part 2
Let’s continue from our last post. In this article, we will be working on:
- User authentication.
# User Authentication.
Let’s create an authentication controller to handle all about authentication using an ace command:
|
1 |
$ node ace make:controller auth |
make:controller command creates a new controller called AuthController in the “app/Http/Controllers/” directory.
Now, we are going to work on creating navigation bar and alerts view for the application so we can include it in any of our views. Let’s create ‘layout’ folder in ‘resources/views’ then create nav.njk and alerts.njk files
nav.njk
|
1 2 3 4 5 6 7 8 9 10 11 12 13 14 15 16 17 18 19 20 21 22 23 24 25 26 27 28 29 30 31 |
<nav class="navbar navbar-default"> <div class="container"> <div class="navbar-header"> <button type="button" class="navbar-toggle collapsed" data-toggle="collapse" data-target="#navbar-collapse" aria-expanded="false"> <span class="sr-only">Menu</span> <span class="icon-bar"></span> <span class="icon-bar"></span> <span class="icon-bar"></span> </button> <a class="navbar-brand" href="/">My Contact</a> </div> <div class="collapse navbar-collapse" id="navbar-collapse"> <ul class="nav navbar-nav navbar-right"> {% if currentUser %} <li><a href="/contacts/create">Add Contact</a></li> <li class="dropdown"> <a href="#" class="dropdown-toggle" data-toggle="dropdown" role="button" aria-haspopup="true" aria-expanded="false">{{ currentUser.name }} <span class="caret"></span></a> <ul class="dropdown-menu"> <li><a href="/logout">Logout</a></li> </ul> </li> {% else %} <li><a href="/auth/signin">Login</a></li> <li><a href="/auth/register">Register</a></li> {% endif %} </ul> </div> </div> </nav> |
alerts.njk
|
1 2 3 4 5 6 7 8 9 10 11 12 13 14 15 16 17 18 19 |
{% if old('errors') %} <div class="alert alert-danger"> <ul class="list-unstyled"> {% for error in old('errors') %} <li>{{ error.message }}</li> {% endfor %} </ul> </div> {% endif %} {% if old('error') %} <div class="alert alert-danger"> {{ old('error') }} </div> {% endif %} {% if old('status') %} <div class="alert alert-success"> {{ old('status') }} </div> {% endif %} |
Moving on, we shall create register and login view right away.
Create a folder, name: “auth” in “resources/views” directory then create the two views needed
login.njk
|
1 2 3 4 5 6 7 8 9 10 11 12 13 14 15 16 17 18 19 20 21 22 23 24 25 26 27 28 29 30 31 32 33 34 35 36 37 38 39 40 41 42 |
{% extends 'master' %} {% block content %} {% include 'layout.nav' %} <div class="container"> <div class="row"> <div class="col-md-8 col-md-offset-2"> <div class="panel panel-default"> <div class="panel-heading">Login</div> <div class="panel-body"> {% include 'layout.alerts' %} <form class="form-horizontal" role="form" method="POST" action="/login"> {{ csrfField }} <div class="form-group"> <label class="col-md-4 control-label" for="email">E-Mail Address</label> <div class="col-md-6"> <input type="email" class="form-control" name="email" id="email" value="{{ old('email') }}"> </div> </div> <div class="form-group "> <label class="col-md-4 control-label" for="password">Password</label> <div class="col-md-6"> <input type="password" class="form-control" id="password" name="password"> </div> </div> <div class="form-group"> <div class="col-md-6 col-md-offset-4"> <button type="submit" class="btn btn-primary"> <i class="fa fa-btn fa-sign-in"></i>Login </button> </div> </div> </form> </div> </div> </div> </div> </div> {% endblock %} |
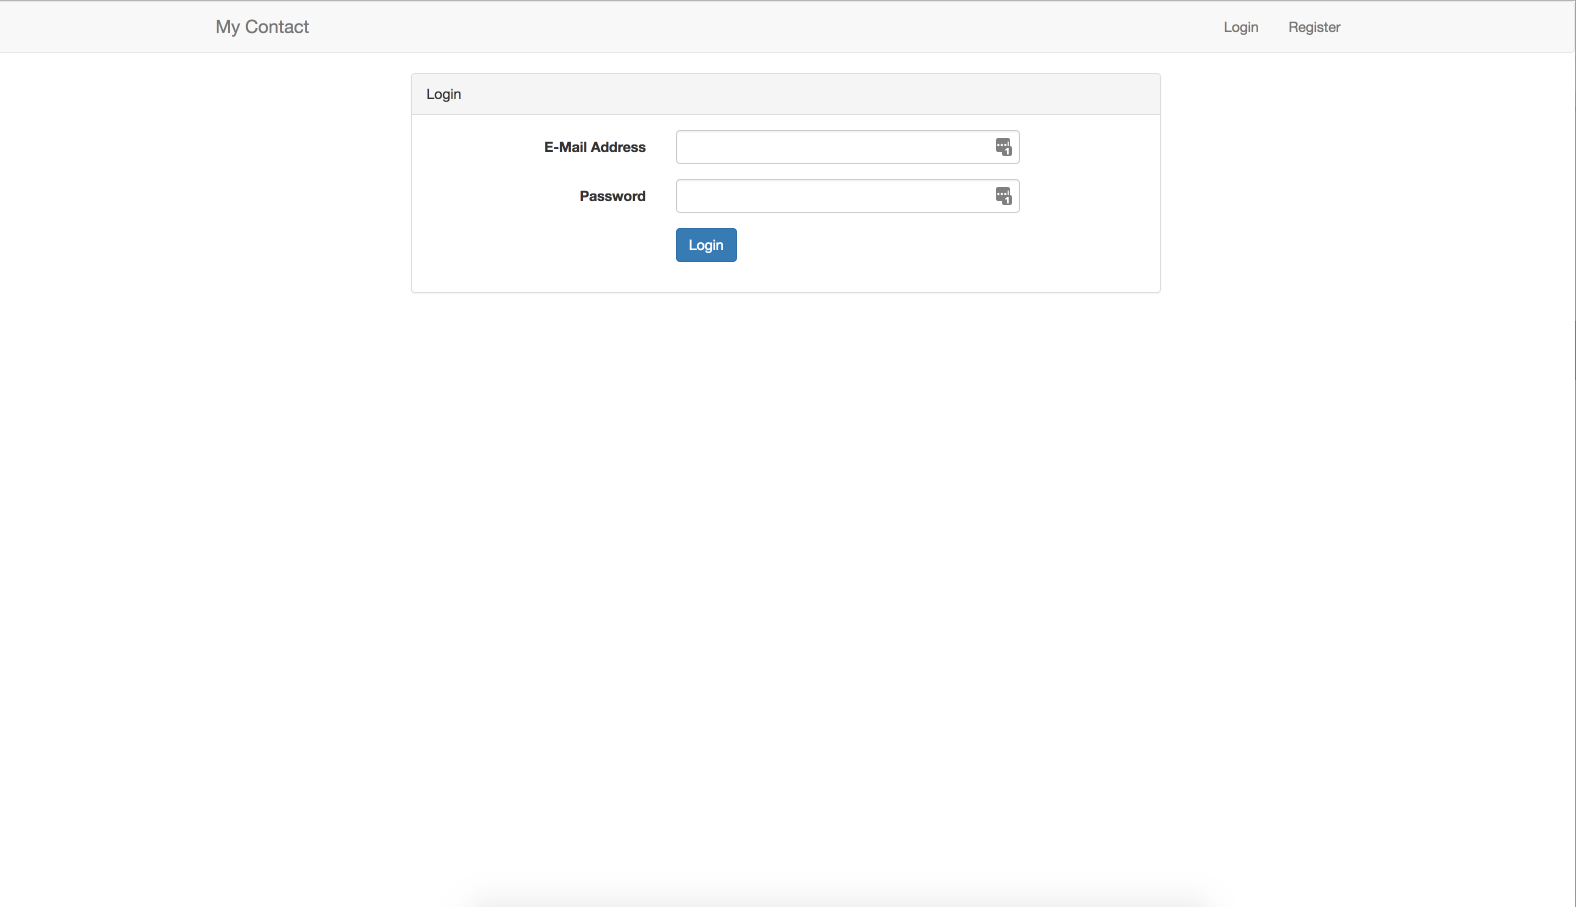
Login Page
register.njk
|
1 2 3 4 5 6 7 8 9 10 11 12 13 14 15 16 17 18 19 20 21 22 23 24 25 26 27 28 29 30 31 32 33 34 35 36 37 38 39 40 41 42 43 44 45 46 47 48 49 50 51 52 53 54 55 56 57 58 59 |
{% extends 'master' %} {% block content %} {% include 'layout.nav' %} <div class="container"> <div class="row"> <div class="col-md-8 col-md-offset-2"> <div class="panel panel-default"> <div class="panel-heading">Login</div> <div class="panel-body"> {% include 'layout.alerts' %} <form class="form-horizontal" role="form" method="POST" action="/auth/register"> {{ csrfField }} <div class="form-group "> <label class="col-md-4 control-label" for="name">Name</label> <div class="col-md-6"> <input type="text" class="form-control" name="name" id="name" value="{{ old('name') }}"> </div> </div> <div class="form-group"> <label class="col-md-4 control-label" for="email">E-Mail Address</label> <div class="col-md-6"> <input type="email" class="form-control" name="email" value="{{ old('email') }}" id="email"> </div> </div> <div class="form-group "> <label class="col-md-4 control-label" for="password">Password</label> <div class="col-md-6"> <input type="password" class="form-control" name="password" id="password"> </div> </div> <div class="form-group "> <label class="col-md-4 control-label" id="password_confirmation">Confirm Password</label> <div class="col-md-6"> <input type="password" class="form-control" name="password_confirmation" id="password_confirmation"> </div> </div> <div class="form-group"> <div class="col-md-6 col-md-offset-4"> <button type="submit" class="btn btn-primary"> <i class="fa fa-btn fa-user"></i>Register </button> </div> </div> </form> </div> </div> </div> </div> </div> {% endblock %} |
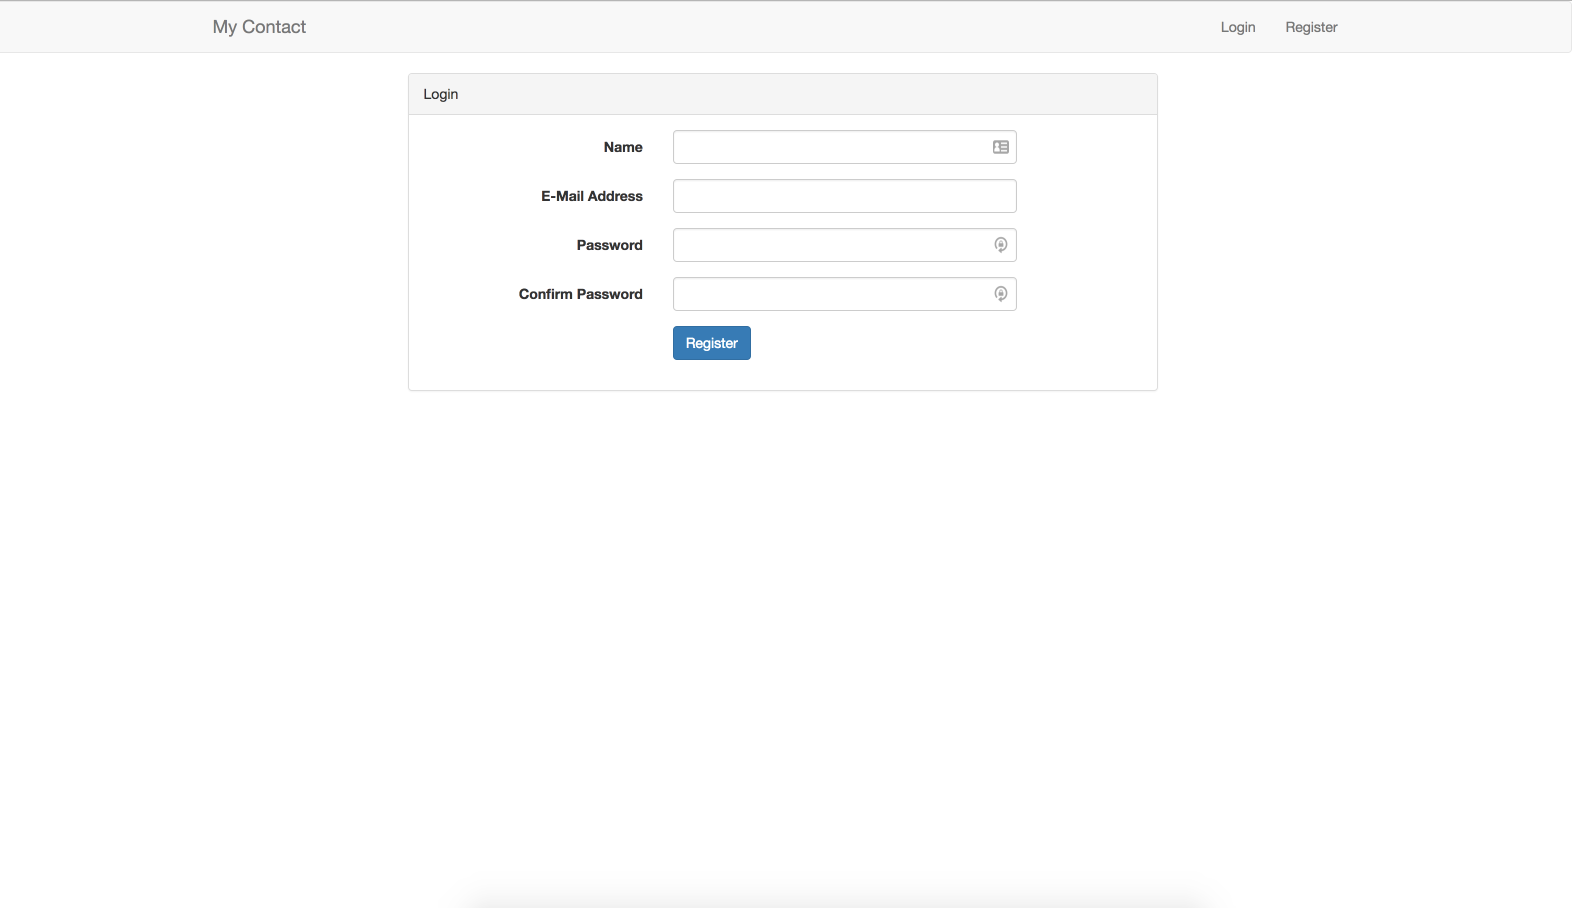
Register Page
In the above views, you will discover some helper functions like;
csrfField: This helps to prevent cross-site request forgery(One Click Attack).
old: This helps to return input, a user entered in a previous submission of a form.
Now go to routes.js in ‘app/Http’ directory and add this.
|
1 2 3 4 5 |
Route.get('/auth/signin', 'AuthController.showLogin') Route.post('/auth/signin', 'AuthController.postLogin') Route.get('/auth/register', 'AuthController.showRegister') Route.post('/auth/register', 'AuthController.postRegister') Route.get('/logout', 'AuthController.logout') |
Back to AuthController.js, we will add this,
|
1 2 3 4 5 6 7 8 9 10 11 12 13 14 15 16 17 |
'use strict' const Validator = use('Validator') const User = use('App/Model/User') const Hash = use('Hash') class AuthController { * showLogin(request, response) { yield response.sendView('auth.login') } * showRegister(request, response) { yield response.sendView('auth.register') } } module.exports = AuthController |
The “showLogin” method renders login page to the browser while “showRegister” method renders register page
Before we continue, let’s setup our validator which will have us valid our forms for the application. To set it up, we need to install “adonis-validation-provider” from npm:
|
1 |
$ npm i --save adonis-validation-provider |
Then, we need to add it to our providers array and aliases object in “bootstrap/app.js” file
|
1 2 3 4 5 6 7 8 9 10 11 |
const providers = [ // ... 'adonis-validation-provider/providers/ValidatorProvider' // ... ] const aliases = { // ... Validator: 'Adonis/Addons/Validator' // ... } |
Let’s process our registration form. Head to AuthController.js and add this method.
|
1 2 3 4 5 6 7 8 9 10 11 12 13 14 15 16 17 18 19 20 21 22 23 24 25 26 27 28 |
* postRegister(request, response) { //set validation rules for registration form const rules = { name: 'required|max:255', email: 'required|email|max:255|unique:users', password: 'required|min:6|max:30|confirmed' } //validate form input const validation = yield Validator.validateAll(request.all(), rules) //return back to registration form with error messages if validation fails. if (validation.fails()) { yield request.withOnly('name', 'email').andWith({ errors: validation.messages() }).flash() response.redirect('back') return } // persist to database const user = yield User.create({ name: request.input('name'), email: request.input('email'), password: yield Hash.make(request.input('password')) }) //redirect user to login page response.redirect('/auth/signin') } |
The “postRegister” method processes the user registration form. First, we set some validation rules then we validate the user inputs. If it fails, we return to the registration page with error messages along with the original user input. If it passes, we create the user using the “User.create” method and redirect the user to login page. You can go on and register.
Before we continue, let’s quickly create contact controller and landing page for contacts. To create a contact controller using an ace command:
|
1 |
$ node ace make:controller contact |
Then, we’ll add;
|
1 2 3 4 5 6 7 8 9 |
'use strict' class ContactController { * index(request, response) { yield response.sendView('contacts.index') } } module.exports = ContactController |
To create the landing page for contact. Create ‘contacts’ folder inside ‘resources/views’ directory then Create a file called index.njk inside the folder and add the following code,
|
1 2 3 4 5 6 7 8 9 10 11 12 13 14 15 16 17 18 |
{% extends 'master' %} {% block content %} {% include 'layout.nav' %} <div class="container"> <div class="row"> <div class="col-md-8 col-md-offset-2"> <div class="panel panel-default"> <div class="panel-heading">Contacts</div> <div class="panel-body"> {% include 'layout.alerts' %} Landing Page </div> </div> </div> </div> </div> {% endblock %} |
Now, let’s process our login form. Head over to AuthController.js and add this method.
|
1 2 3 4 5 6 7 8 9 10 11 12 13 14 15 16 |
/** * @param request * @param response * Handle user login */ * postLogin(request, response){ const email = request.input('email') const password = request.input('password') try { yield request.auth.attempt(email, password) response.redirect('/contacts') } catch (e) { yield request.with({error: 'Invalid credential'}).flash() response.redirect('back') } } |
The “postLogin” method processes the user login form. First, we get the user input then authenticate the email and password. If it’s correct, it will redirect the user to the contact landing page else it will return to the login page with an error message “Invalid Credential”.
Next, we need to add contact landing page route. Open routes.js in ‘app/Http’ directory and add this
|
1 |
Route.get('/contacts', 'ContactController.index').middleware('auth') |
The middleware helps in securing the route. We should be able to log in now
Logout
Let’s Head over to AuthController.js and add this method.
|
1 2 3 4 5 6 7 8 9 |
/** * Logout user */ * logout(request, response) { // logouts the user yield request.auth.logout() // redirect to login page response.redirect('/auth/signin') } |
Now, we can authenticate the user in our application.
Watch out for the next post.
Please if you have any questions or observations, feel free to drop it in the comments section below. We would be happy to respond to you.