Build A Contact Management web Application with AdonisJS Framework – Part 1
Welcome! with the use of AdonisJs Framework, we will be learning how to build a contact management web Application in this tutorial.
We’ll build a Create, Read, Update and Delete Contact management web application using AdonisJS, an MVC framework for Node.js. I will name it “My Contact”. Users will be able to do the following:
- Log in and register as owner.
- Create, update and delete a contact.
- Search for contacts.
- View all contacts and their details
We would also be looking at the following in this tutorial:
- Database Setup
- Migration
- Models
- Home page
So, let’s get started! But before we do,
# Prerequisites
This Tutorial is a follow up to my introductory tutorial, Get Started with AdonisJS on Goodheads.io. At this point, I assume you have gone through the introductory tutorial or you are not new to AdoniJS else, you will have to go through the Get Started with AdonisJS post.
# Getting Started
With the AdonisJS CLI installed, execute the following commands
|
1 |
$ adonis new My-Contact |
Enter into the “My-Contact” directory using
|
1 |
$ cd My-Contact |
Go ahead and run the application.
|
1 |
$ npm run serve:dev |
# Database Setup
AdonisJS supports several relational databases including PostgreSQL, SQLite, MySQL, MariaDB, Oracle, MSSQL. For this tutorial, we will be using MySQL. So if you don’t already have MySQL installed, head over to the MySQL website to get it installed and set up for your operating system. Finish with this before going ahead with the tutorial.
Now, let’s create our database
|
1 2 |
$ mysql -u root -p #log into mysql mysql > create database mycontact_db; #create database in mysql |
From the above commands, we logged into our Mysql Database and created a database called “mycontact_db”
Next, Let’s set our database in .env file. Any AdonisJS project comes with .env file. The file which contains the database and secret details. Below is my .env file
|
1 2 3 4 5 6 7 8 9 10 11 12 |
HOST=localhost PORT=3333 APP_KEY=xxxxxxxxxxxxxxxxx //put your Application key here NODE_ENV=development CACHE_VIEWS=false SESSION_DRIVER=cookie DB_CONNECTION=mysql DB_HOST=127.0.0.1 DB_PORT=3306 DB_USER=xxxxx //put your database username DB_PASSWORD=xxxxxxxxx //put your database password DB_DATABASE=mycontact_db |
# Migration
Now, let’s work on our migration for the project. So below is the database structure I have in mind:
User table (users)
id
email
password
name
timestamps – created_at, updated_at
Contact table(contacts)
id
user_id – (Foreign Key)
first_name
last_name
office_number
home_number
office_email
personal_email
birthday
note
timestamps – created_at, updated_at
Let’s make our migration now. AdonisJS uses command line tool to create migration files. So, run the following command to get migration files
|
1 2 3 |
$ node ace make:migration users --create=users $ node ace make:migration contacts --create=contacts |
Let’s modify the following migration files in “database/migrations”
TIMESTAMP_users.js
|
1 2 3 4 5 6 7 8 9 10 11 12 13 14 15 16 17 18 19 20 21 22 23 |
'use strict' const Schema = use('Schema') class UsersTableSchema extends Schema { up () { this.create('users', (table) => { table.increments() table.string('email').Nullable() table.string('password', 72).Nullable() table.string('name').Nullable() table.timestamps() }) } down () { this.drop('users') } } module.exports = UsersTableSchema |
TIMESTAMP_contacts.js
|
1 2 3 4 5 6 7 8 9 10 11 12 13 14 15 16 17 18 19 20 21 22 23 24 25 26 27 28 29 30 |
'use strict' const Schema = use('Schema') class ContactsTableSchema extends Schema { up () { this.create('contacts', (table) => { table.increments() table.integer('user_id').unsigned() table.string('first_name').Nullable() table.string('last_name').Nullable() table.string('office_number').Nullable() table.string('home_number').Nullable() table.string('office_email').Nullable() table.string('personal_email').Nullable() table.date('birthday').Nullable() table.text('note').Nullable() table.timestamps() table.foreign('user_id').references('users.id') table.softDeletes() }) } down () { this.drop('contacts') } } module.exports = ContactsTableSchema |
Before you migrate the tables, let’s install MySql module.
|
1 |
$ npm install --save mysql |
Then, we can migrate the tables by running
|
1 |
$ node ace migration:run |
Check your database, All these tables would have been created now.
# Models
In this section, we will work on the models. A Model is a representation of the database table in our code. In our application, we need 2 models; users and contacts.
To create our 2 models, we’ll run the below commands;
|
1 2 3 |
$ node ace make:model User $ node ace make:model Contact |
Now add the following code to “app/Model/User.js” file:
|
1 2 3 4 5 6 7 8 9 10 11 12 13 14 15 16 17 18 19 20 21 22 23 24 25 26 27 28 29 30 31 32 33 |
'use strict' const Lucid = use('Lucid') class User extends Lucid { static get table () { return 'users' } /** * Specify the table primary key * @returns {string} */ static get primaryKey () { return 'id' } /** * The attributes that should be hidden for arrays. * * @var array */ static get hidden () { return ['password'] } contact(){ return this.hasMany('App/Model/Contact', 'id', 'user_id') } } module.exports = User |
Also, add the following code to “app/Model/Contact.js” file:
|
1 2 3 4 5 6 7 8 9 10 11 12 13 14 15 16 17 18 19 20 21 22 23 24 |
'use strict' const Lucid = use('Lucid') class Contact extends Lucid { static get table () { return 'contacts' } /** * Specify the table primary key * @returns {string} */ static get primaryKey () { return 'id' } user(){ return this.belongsTo('App/Model/User') } } module.exports = Contact |
If you noticed, there is a “one to many” relationship between both User Model and ContactModel.
# Home Page
Now, let’s work on “resources/views/master.njk” file by replacing its content with
master.njk
|
1 2 3 4 5 6 7 8 9 10 11 12 13 14 15 16 17 |
<!DOCTYPE html> <html> <head> <meta name="viewport" content="width=device-width"> <title>My Contact</title> <meta name="description" content="My-Contact is a simple application built for learning purposes"> <!-- Typekit Fonts --> <script src="//use.typekit.net/udt8boc.js"></script> <script>try{Typekit.load();}catch(e){}</script> <script src="https://cdnjs.cloudflare.com/ajax/libs/jquery/3.1.1/jquery.min.js"></script> <script src="https://maxcdn.bootstrapcdn.com/bootstrap/3.3.7/js/bootstrap.min.js"></script> <link rel="stylesheet" href="https://maxcdn.bootstrapcdn.com/bootstrap/3.3.7/css/bootstrap.min.css"> </head> <body> {% block content %}{% endblock %} </body> </html> |
Let’s go ahead and create our index.njk in the resources/views folder.
index.njk
|
1 2 3 4 5 6 7 8 9 10 11 12 13 14 15 16 17 |
{% extends 'master' %} {% block content %} <div class="container"> <div class="row"> <div class="col-md-8 col-md-offset-2"> <h1 style="">My Contact</h1> <p><img src="assets/banner.png" /></p> <p class="col-md-6 col-md-offset-5"> <a class="btn btn-large btn-primary" href="/auth/register">Sign Up</a> <a class="btn btn-large btn-primary" href="/auth/signin">Login</a> </p> </div> </div> </div> {% endblock %} |
Next, create “HomeController” by running the “make:controller” command like this
|
1 |
$ node ace make:controller Home |
Go to “/app/Http/Controllers/HomeController.js” file to write a function that will display the homepage like this
|
1 2 3 4 5 6 7 8 |
'use strict' class HomeController { *index(request, response ){ yield response.sendView('index') } } module.exports = HomeController |
So let’s quickly modify our route.js file in “app/Http” directory so we can display our home page.
|
1 2 3 4 5 6 |
'use strict' const Route = use('Route') Route.get('/', 'HomeController.index') |
When you refresh your page, Your homepage should look like this.
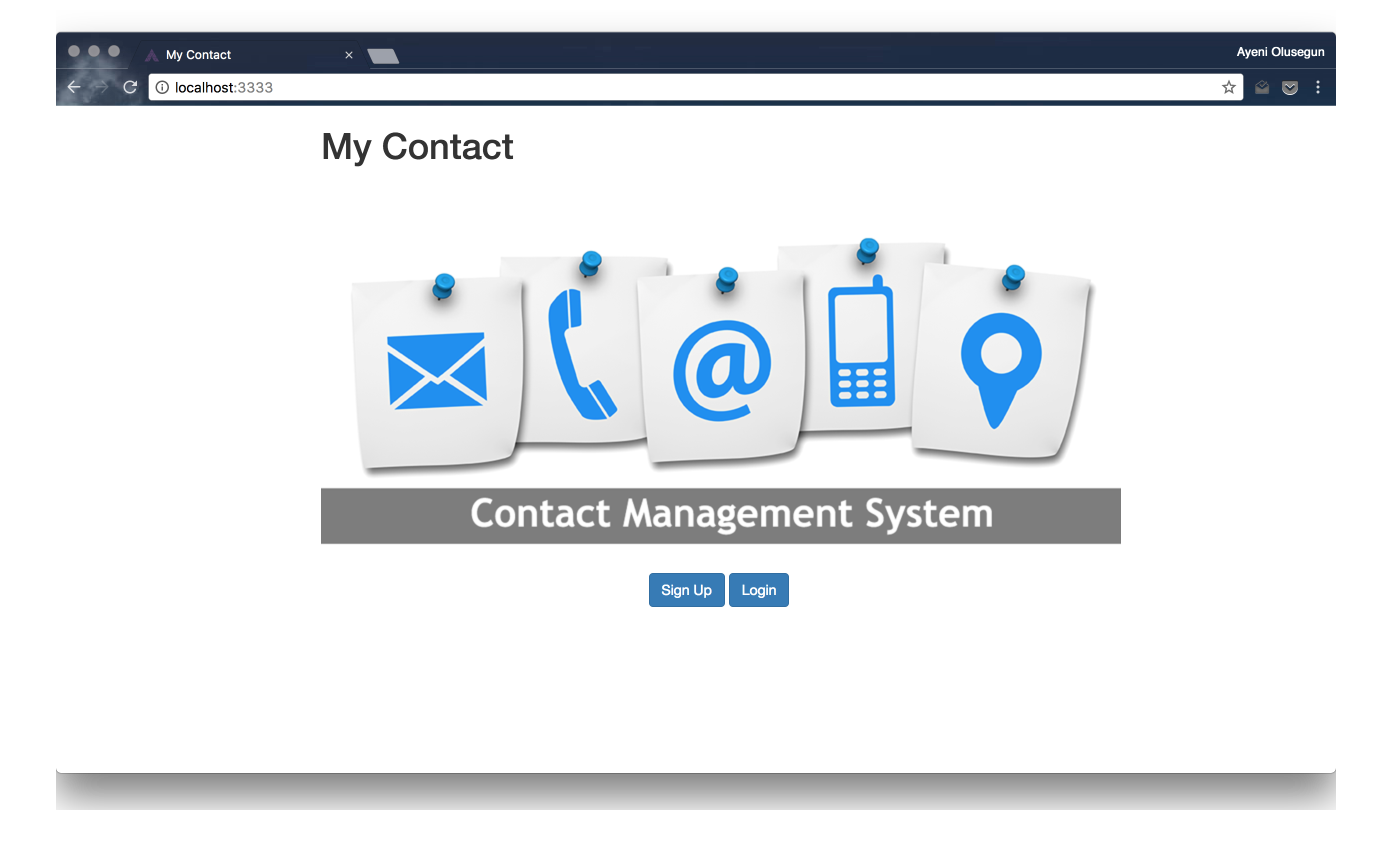
If your display is looking like this, then congratulation!
It’s good that you have gotten to this stage.
Watch out for the next post! 😁
Please if you have any questions or observations, feel free to drop it in the comments section below.