How to build your own Youtube – Part 4
Introduction: If you missed the earlier parts, in this series we are covering how to build your own YouTube clone, Click here.
Note: You need to have at least some prior experience with client-side Javascript frameworks and Node.js to get the most out of this tutorial.
We now have the ability to upload videos to Cloudinary as shown in the previous blog post. Next, we are going to save the details of those videos and also display them on the homepage.
Step 1: Set up Video Model
Create a new file video.server.model.js in server/models directory. Open up the file and add this:
video.server.model.js
|
1 2 3 4 5 6 7 8 9 10 11 12 |
var mongoose = require('mongoose'), videoSchema = mongoose.Schema({ title: { type: String }, public_id: { type: String, required: true }, description: { type: String, required: true }, url: { type: String, required: true }, duration: { type: Number, required: true }, format: { type: String, required: true }, time_uploaded: { type: Date, default: Date.now } }); module.exports = mongoose.model('Video', videoSchema, 'videos'); |
We intend to store the title, unique identifier of the video on Cloudinary which is represented as public_id, description, video Url, duration, format and the time the video was uploaded.
Step 2: Set Up Video Controller
Create a new file video.server.controller.js in server/controllers directory. Open up the file and add this:
video.server.controller.js
|
1 2 3 4 5 6 7 8 9 10 11 12 13 14 15 16 17 18 19 20 21 22 23 24 25 26 27 28 29 30 31 32 33 34 35 36 37 38 39 40 41 |
var Video = require('../models/video.server.model'); module.exports = { /** * Saves A New Video Details Posted By User * @param {void} req * @param {void} res * @param {Function} next * @return {object} */ create: function(req, res){ var video = new Video({ title: req.body.title, public_id: req.body.public_id, description: req.body.description, url: req.body.url, duration: req.body.duration, format: req.body.format }); video.save(function(err, result) { if (err) { res.status(500).json({ message: err.message }); } return res.status(200).json({ success: true, message: "Video Published successfully!" }); }); }, /** * Fetch All Videos that have been uploaded * @param {void} req * @param {void} res * @return {object} */ retrieveAll: function( req, res){ Video.find({}, function(err, videos) { res.status(200).json(videos); }); }, }; |
We have two methods called create and retrieveAll to save the details of the video to the database and also retrieve all videos respectively.
Step 3: Configure Server Route
We need to add two API routes like so /api/videos/create and /api/videos to enable us to send information about the video from the frontend to the backend. The first route will enable us to save the video details, the second route will enable us retrieve the video details.
Open up server/routes.js and add this:
|
1 2 3 4 5 6 7 8 9 10 11 12 13 14 15 |
var User = require('./controllers/user.server.controller'), Upload = require('./controllers/upload.server.controller'), Video = require('./controllers/video.server.controller'), token = require('../config/token'); module.exports = function(app) { ..... ...... ...... ...... app.post('/api/videos/create', token.ensureAuthenticated, Video.create); app.get('/api/videos', token.ensureAuthenticated, Video.retrieveAll); ...... ...... }; |
Great! That’s all we need for our backend right now. Next, let’s fix some things on our frontend.
Step 4: Set up Video Service
Create a new file video.client.service.js in public/js/services directory. Open up the file and add this:
|
1 2 3 4 5 6 7 8 9 10 11 12 13 14 15 16 17 18 19 |
app.factory('Video', ['$http', function($http) { return { create: function(videoDetails, cb){ $http.post('/api/videos/create', videoDetails).then( function(response){ if(response.data.success){ cb(true, response.data); } else { cb(false, response.data); } }); }, retrieveAll: function(){ return $http.get('/api/videos'); } }; }]); |
We created our Video Service using the AngularJS factory method. You can learn more about that here. The create method makes a post request to the api/videos/create API route we created earlier and returns a response. The retrieveAll method makes a get request to the api/videos route and returns a promise. Read more about promises here.
Step 5: Set up Home Controller
Create a new file home.client.controller.js in public/js/controllers directory. Open up the file and add this:
home.client.controller.js
|
1 2 3 4 5 6 7 8 9 10 |
app.controller('HomeController', ['$scope','$http','toastr','User', 'Video', function($scope, $http, toastr, User, Video) { $scope.listVideos = function(){ Video.retrieveAll().then(function(response){ $scope.allVideos = response.data; }); }; $scope.listVideos(); }]); |
We created a listVideos function that calls the Video Service, thus invoking the retrieveAll method that returns all the video details in the response. We are storing the response in the allVideos scope variable. We’ll make use of that variable on the home page to display a list of all the videos.
Step 6: Tweak Upload Controller
We have figured out how to retrieve all videos that have been uploaded. Next, we need to be able to send video details like title, description, duration and the rest once the video is selected on the upload page. So, we’ll take advantage of the callback in the success method of the Upload service present in the UploadController and send all the video details to be stored in the database like so:
|
1 2 3 4 5 6 7 8 9 10 11 12 13 14 15 16 17 18 19 20 21 |
.success(function (data, status, headers, config) { file.status = "Done...100%. Draft Saved! Now, Hit the Publish Button to go live when you are ready"; file.result = data; var details = { title: $scope.video.title, public_id: data.response.public_id, description: $scope.video.description, url: data.response.secure_url, duration: data.response.duration, format: data.response.format }; Video.create(details, function(success, data){ if(success){ toastr.success(data.message, { timeOut: 3000 }); }else{ toastr.error(data.message, 'Error', { timeOut: 2000 }); } }); file.status = "Your Video is live now!"; |
So, update your upload.client.controller.js to have this below:
|
1 2 3 4 5 6 7 8 9 10 11 12 13 14 15 16 17 18 19 20 21 22 23 24 25 26 27 28 29 30 31 32 33 34 35 36 37 38 39 40 41 42 43 44 45 46 47 48 49 50 51 52 53 54 55 56 57 58 59 60 61 62 63 64 65 66 |
app.controller('UploadController', ['$scope', '$rootScope', '$location', 'toastr', 'Upload', 'Video', '$http', /* Uploading with Angular File Upload */ function($scope, $rootScope, $location, toastr, Upload, Video, $http) { $scope.uploadFiles = function(files){ $scope.files = files; if (!$scope.files) return; angular.forEach(files, function(file){ if (file && !file.$error) { file.upload = Upload.upload({ url: "/api/upload", method: "POST", data: { file: file, } }).progress(function (e) { file.status = "Uploading...Processing..."; file.progress = Math.round((e.loaded * 100.0) / e.total); }).success(function (data, status, headers, config) { file.status = "Done...100%. Draft Saved! Now, Hit the Publish Button to go live when you are ready"; file.result = data; var details = { title: $scope.video.title, public_id: data.response.public_id, description: $scope.video.description, url: data.response.secure_url, duration: data.response.duration, format: data.response.format }; Video.create(details, function(success, data){ if(success){ toastr.success(data.message, { timeOut: 3000 }); }else{ toastr.error(data.message, 'Error', { timeOut: 2000 }); } }); file.status = "Your Video is live now!"; }).error(function (data, status, headers, config) { file.result = data; }); } }); }; /* Modify the look and fill of the dropzone when files are being dragged over it */ $scope.dragOverClass = function($event) { var items = $event.dataTransfer.items; var hasFile = false; if (items !== null) { for (var i = 0 ; i < items.length; i++) { if (items[i].kind == 'file') { hasFile = true; break; } } } else { hasFile = true; } return hasFile ? "dragover" : "dragover-err"; }; }]); |
Step 7: Reference the new files in index.html
We created home.client.controller.js , video.client.service.js on the frontend. So, let’s reference the link to those files in the index.html file like so:
|
1 2 |
<script src="js/controllers/home.client.controller.js"></script> <script src="js/services/user.client.service.js"></script> |
Step 8: Update the homepage to display and render uploaded Videos
Update the home.client.view.html to contain this:
|
1 2 3 4 5 6 7 8 9 10 11 12 13 14 15 16 17 18 19 20 21 22 23 24 25 26 27 28 29 30 31 32 33 34 35 36 37 38 39 40 41 42 |
<div class="container"> <div class="panel panel-default"> <div class="panel-heading">Recommended</div> <div class="panel-body"> <div class="row" ng-controller="HomeController"> <div class="col-sm-4" ng-repeat="videos in allVideos" class="bs-callout"> <h5>{{ videos.title }}</h5> <!-- 4:3 aspect ratio --> <div class="embed-responsive embed-responsive-4by3"> <video width="320" height="240" poster="" controls > <source ng-src="{{ videos.url | trustUrl }}" type="video/webm"> <source ng-src="{{ videos.url | trustUrl }}" type="video/mp4"> <source ng-src="{{ videos.url | trustUrl }}" type="video/ogg"> Your browser does not support the video tag. </video> </div> <p> {{ videos.description }}</p> </div> </div> <hr /> </div> </div> <div class="panel-footer text-center"> <ul class="list-inline"> <li><i class="ion-star"></i> stars</li> <li><i class="ion-fork-repo"></i> forks</li> <li><i class="ion-pull-request"></i> issues</li> </ul> </div> </div> </div> <div class="text-center"> <a class="btn btn-default" href="https://github.com/goodheads/yourtube"><i class="ion-social-github"></i> GitHub project</a> <a class="btn btn-default" href="https://github.com/goodheads/yourtube/issues/new"><i class="ion-bug"></i> Report issue</a> </div> </div> |
The major section of this code block above is this:
|
1 2 3 4 5 6 7 8 9 10 11 12 13 14 15 16 17 |
<div class="row" ng-controller="HomeController"> <div class="col-sm-4" ng-repeat="videos in allVideos" class="bs-callout"> <h5>{{ videos.title }}</h5> <!-- 4:3 aspect ratio --> <div class="embed-responsive embed-responsive-4by3"> <video width="320" height="240" poster="" controls > <source ng-src="{{ videos.url | trustUrl }}" type="video/webm"> <source ng-src="{{ videos.url | trustUrl }}" type="video/mp4"> <source ng-src="{{ videos.url | trustUrl }}" type="video/ogg"> Your browser does not support the video tag. </video> </div> <p> {{ videos.description }}</p> </div> </div> |
allVideos is a scope variable. We assigned the video response to it in the HomeController. It contains an array of objects, So we are using ng-repeat to loop through all the values and display them.
We are displaying them using the HTML5 Video tag. Now, you must have noticed the trustUrl filter. Why do we have that? Chill, let me explain!
AngularJS is not comfortable with displaying videos within the source tag of HTML5 Video element especially when the Url has not been certified as trusted. The solution to this is creating a filter that tells AngularJS that the Url is indeed a trusted resource Url.
Step 9: Set up Url Filter
Create a folder filters in the public/js directory. Next, create a file trustUrl.filter.js inside the filters folder and add this to it like so:
trustUrl.filter.js
|
1 2 3 4 5 |
app.filter("trustUrl", ['$sce', function ($sce) { return function (recordingUrl) { return $sce.trustAsResourceUrl(recordingUrl); }; }]); |
If you don’t know about the AngularJS $sce service. Please read more about it here.
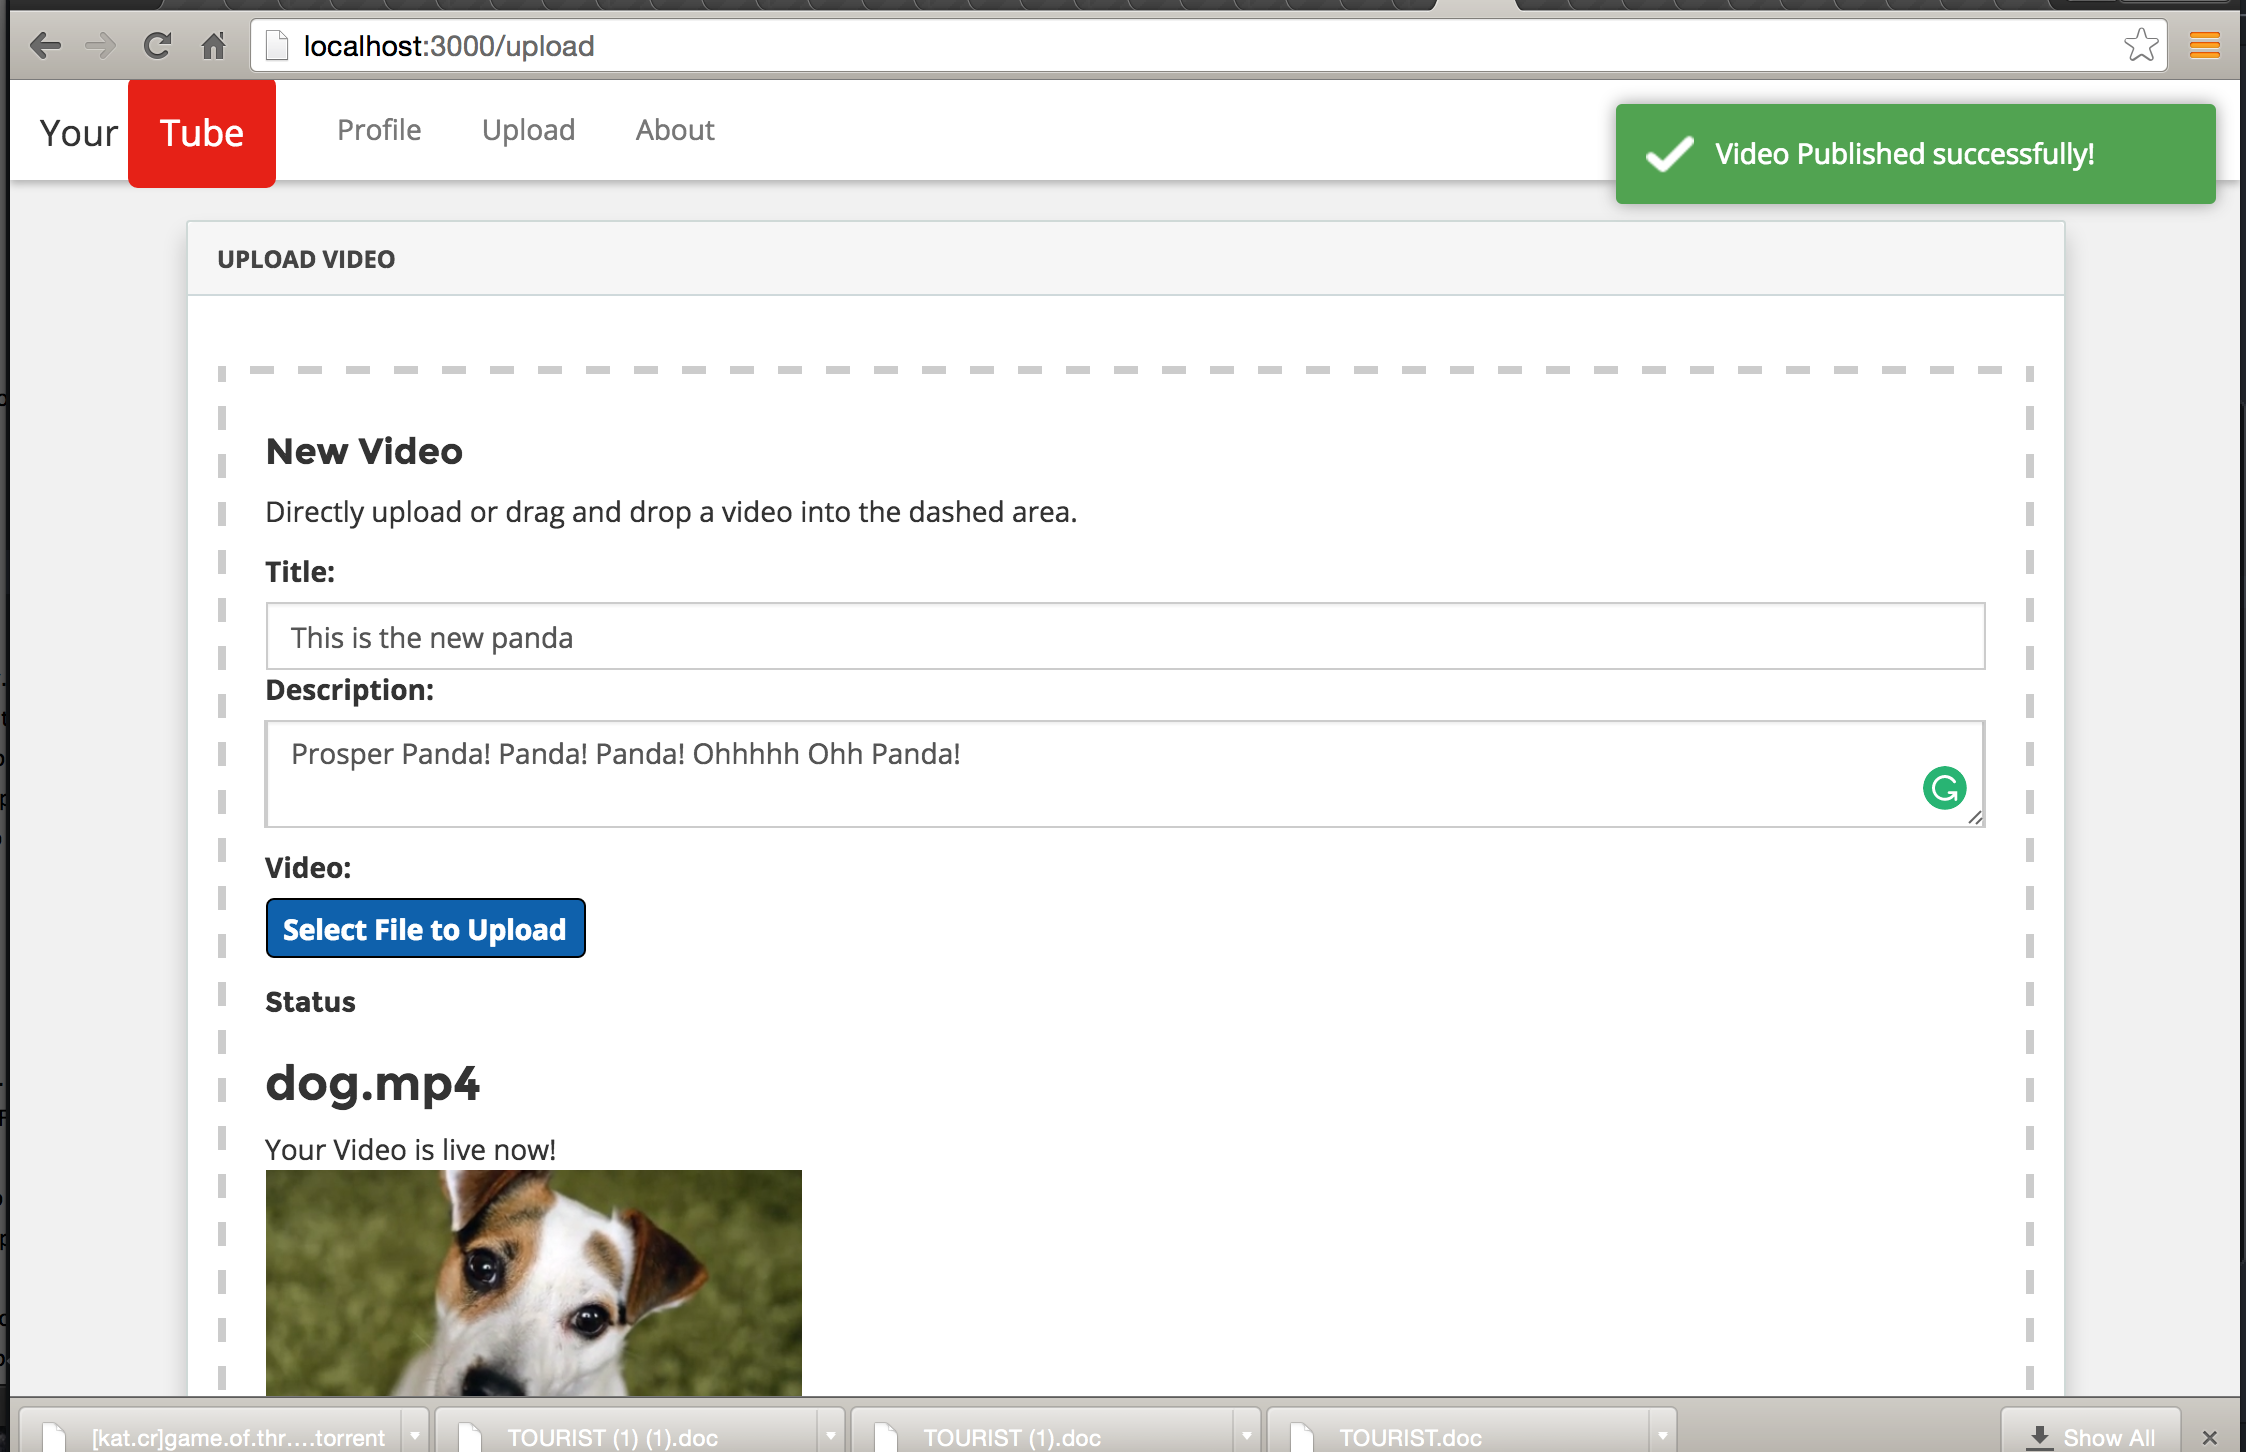
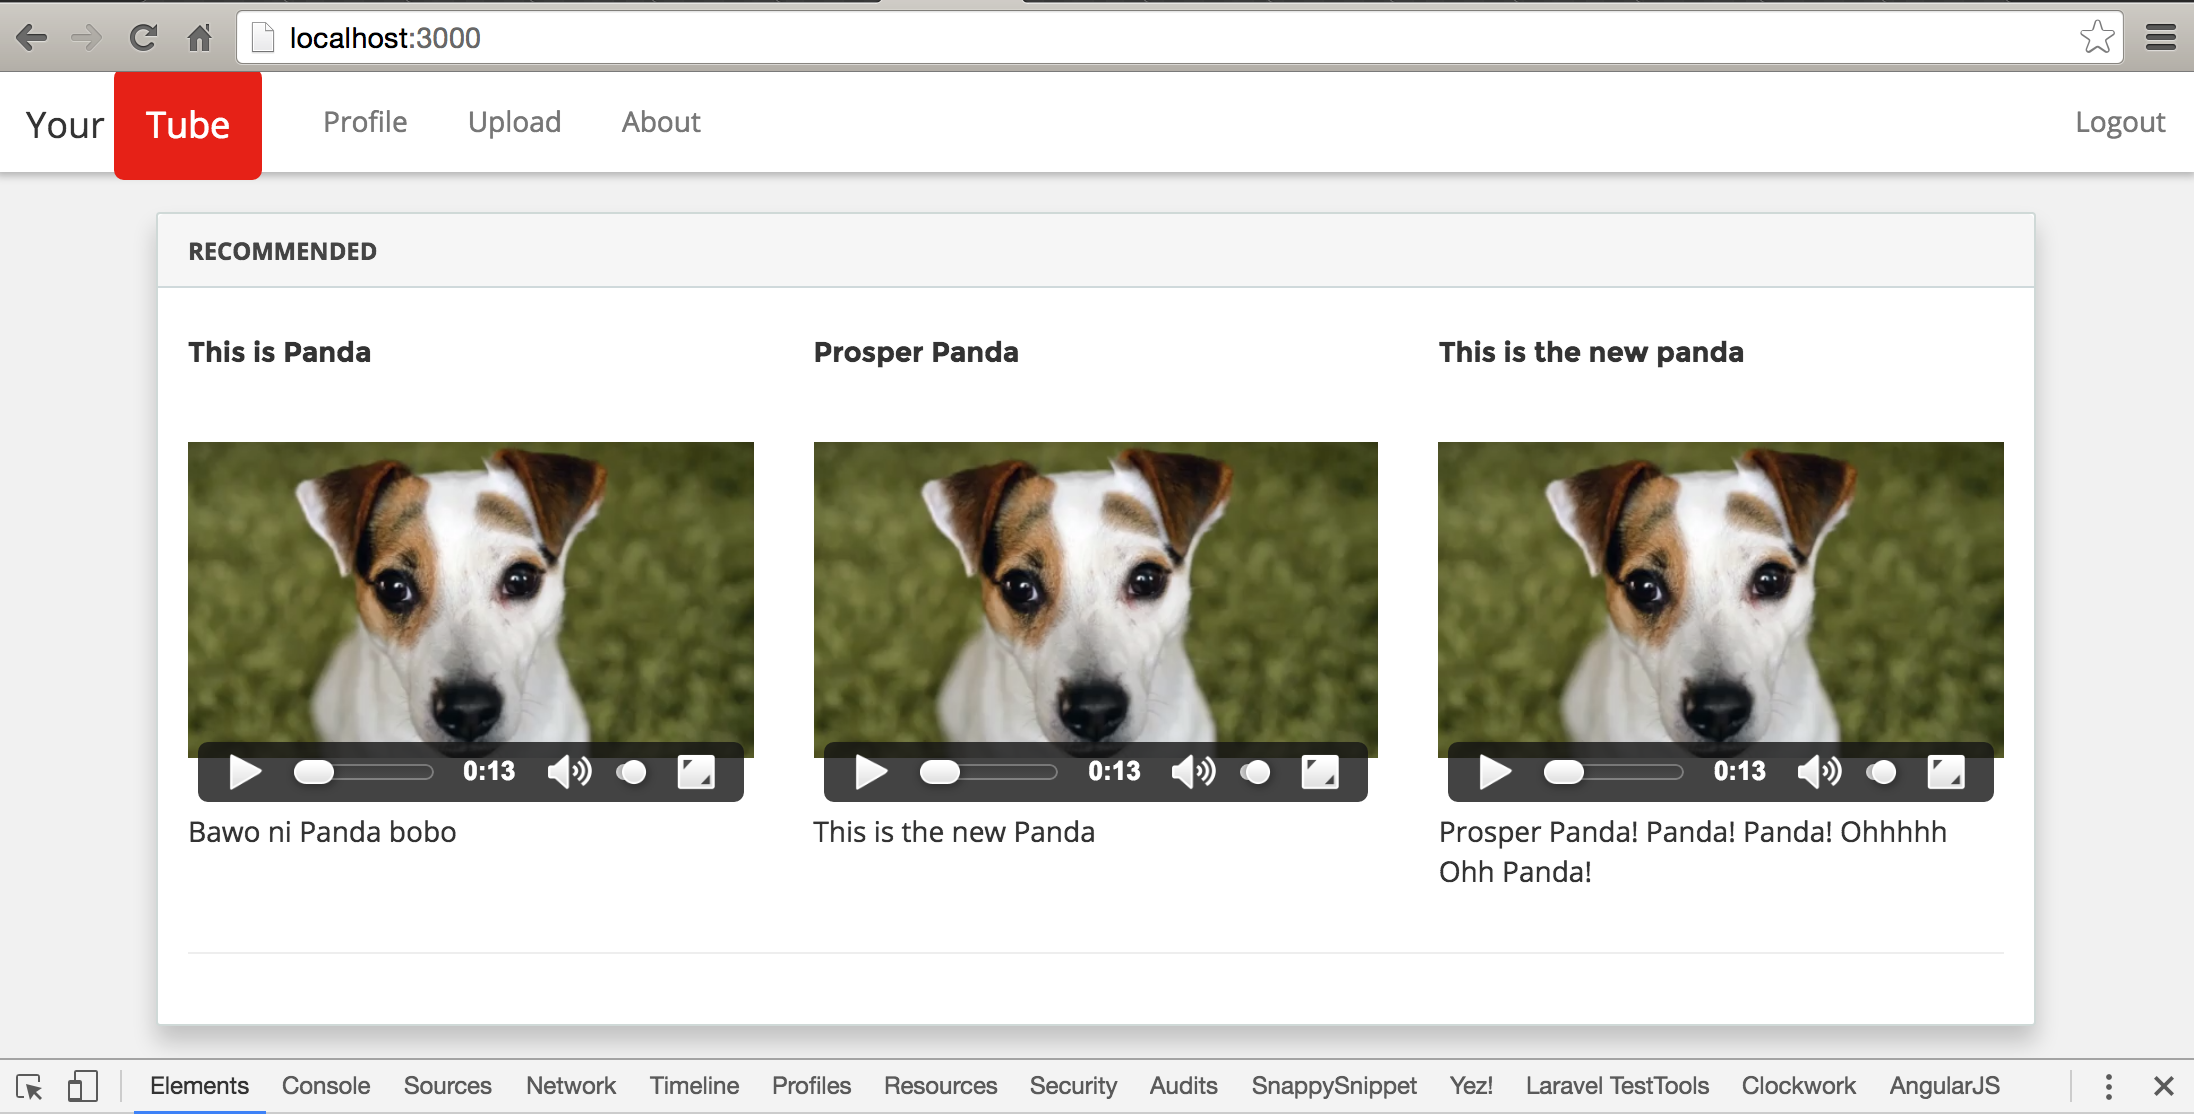
Now, try to upload a video! You should have something like this:
When you just uploaded a video..
On the homepage, after you have uploaded a video…
Aside: Direct Uploading From the Browser
We have been uploading to a NodeJs backend that uploads to Cloudinary. It’s also possible for us to bypass our server and upload a video from our frontend straight to Cloudinary. Imagine a case where you just want to use only AngularJS and firebase, or Jquery, or EmberJs, stripping out the headache of including a backend.
In our case, all you need to do is this:
Step 1: Update your UploadController
Update your upload.client.controller.js like so:
|
1 2 3 4 5 6 7 8 9 10 11 12 13 14 15 16 17 18 19 20 21 22 23 24 25 26 27 28 29 30 31 32 33 34 35 36 37 38 39 40 41 42 43 44 45 46 47 48 49 50 51 52 |
app.controller('UploadController', ['$scope', '$location', 'Upload', 'cloudinary', '$http', /* Uploading with Angular File Upload */ function($scope, $location, Upload, cloudinary, $http) { $scope.uploadFiles = function(files){ $scope.files = files; if (!$scope.files) return; angular.forEach(files, function(file){ if (file && !file.$error) { file.upload = Upload.upload({ url: "http://api.cloudinary.com/v1_1/" + cloudinary.config().cloud_name + "/upload", method: "POST", skipAuthorization: true, data: { upload_preset: cloudinary.config().upload_preset, tags: 'myvideo', file: file } }).progress(function (e) { file.progress = Math.round((e.loaded * 100.0) / e.total); file.status = "Uploading... " + file.progress + "%"; }).success(function (data, status, headers, config) { console.log("success", data); file.result = data; }).error(function (data, status, headers, config) { console.log("success", data); file.result = data; }); } }); }; /* Modify the look and fill of the dropzone when files are being dragged over it */ $scope.dragOverClass = function($event) { var items = $event.dataTransfer.items; var hasFile = false; if (items !== null) { for (var i = 0 ; i < items.length; i++) { if (items[i].kind == 'file') { hasFile = true; break; } } } else { hasFile = true; } return hasFile ? "dragover" : "dragover-err"; }; }]); |
Look at the section critically below:
|
1 2 3 4 5 6 7 8 9 10 |
file.upload = Upload.upload({ url: "http://api.cloudinary.com/v1_1/" + cloudinary.config().cloud_name + "/upload", method: "POST", skipAuthorization: true, data: { upload_preset: cloudinary.config().upload_preset, tags: 'myvideo', file: file } }) |
We are sending a post request directly to Cloudinary’s API instead of our Nodejs API. Take note of the the following: cloudinary.config().upload_preset and cloudinary.config().cloud_name + “/upload”.
First, you need to enable unsigned uploading for your Cloudinary account from the Upload Settings page. Enabling unsigned uploading creates an upload preset with a unique name, which explicitly allows uploading of videos without the API secret. The preset also defines which upload options will be applied to videos that are uploaded unsigned. You can edit the preset at any point in time, to define the parameters that will be used for all videos that are uploaded unsigned from user browsers or mobile apps.
We injected cloudinary into our UploadController and we need to configure the upload_preset and cloud_name. Open up your public/js/app.js and update it like so:
app.js
|
1 2 3 4 5 6 7 8 9 10 11 12 13 14 15 16 17 18 19 20 21 22 23 24 25 26 27 28 29 30 31 32 33 34 |
var app = angular .module('yourtube', [ 'ngCookies', 'ngRoute', 'ngStorage', 'ngMessages', 'angularMoment', 'angular-loading-bar', 'cloudinary', 'ui.bootstrap', 'appRoutes', 'ngSanitize', 'ngFileUpload', 'toastr', 'ngLodash', 'hc.marked', 'angularUtils.directives.dirDisqus', 'satellizer']) .config(['cfpLoadingBarProvider','$authProvider', 'cloudinaryProvider', function(cfpLoadingBarProvider, $authProvider, cloudinaryProvider) { $authProvider.baseUrl = '/'; $authProvider.loginUrl = '/api/login'; $authProvider.signupUrl = '/api/register'; $authProvider.authHeader = 'Authorization'; $authProvider.authToken = 'Bearer'; $authProvider.storageType = 'localStorage'; cfpLoadingBarProvider.includeSpinner = false; cfpLoadingBarProvider.includeBar = true; cloudinaryProvider.set("cloud_name", "goodheads").set("upload_preset", "xxxxxx"); }]); |
Here, the cloudinaryProvider has been injected, then the cloud_name and upload_preset set here. You can get those details from your Cloudinary console.
In a real live environment, I won’t expose my cloud_name and upload_preset like this, I’ll rather load them from an environment/config file for security reasons.
With this setup, you can upload videos directly from your browser! Yaay!
Conclusion
In this post, we have looked at uploading a video, saving the details and also displaying the videos. We have also looked at performing a direct upload operation from the browser to Cloudinary. In the next post, we’ll look at chunked video upload & eager video transformations: assigning tags, removing audio, changing video dimensions on the fly, changing video background & video cropping.
The source code for this project is on github. Check here. The source code for direct upload is here . I put the code in a different branch.
If you have any questions or observations, please drop your thoughts in the comment section below 
- How to build your own Youtube – Part 10 - August 1, 2016
- How to build your own Youtube – Part 9 - July 25, 2016
- How to build your own Youtube – Part 8 - July 23, 2016
- How to build your own Youtube – Part 6 - July 6, 2016
- Introducing Laravel Password v1.0 - July 3, 2016
- How to build your own Youtube – Part 5 - June 28, 2016
- How to build your own Youtube – Part 4 - June 23, 2016
- How to build your own Youtube – Part 3 - June 15, 2016
- How to build your own Youtube – Part 2 - June 8, 2016
- How to build your own Youtube – Part 1 - June 1, 2016